HW3: Flash/No
Flash Photography (15 Points)
Due: Tuesday
10/24 at 11:59pm
EECS 395/495: Introduction
to Computational Photography
In
this homework, you will implement a subset of the idea presented in the paper
'Flash/No Flash Photography' [1]. The goal of this homework is to fuse together
images captured with and without a flash. Your Tegra device does not have a
camera flash, so instead we will use the screen itself to illuminate the view
seen by the front-facing camera. You will write a program to capture two images
of a scene that is very dim. The image without the flash will have the lighting
and color characteristics you want, but it will be noisy. The image with the
flash will have the incorrect lighting, but it will be much less noisy. You
will write a program to denoise the no flash image
and then transfer detail from the flash image. The original paper proposes
methods to compensate for highlights and shadows caused by the flash as well as
color corrections but you will not need to implement this.
1. Write a android program to capture a flash/ no flash pair (5 points)
You
need to write an android program that will
capture a flash/no flash image pair. All you will need to do is to
change the background of the screen and then capture a white background image
and a black background image. Here are some guidelines:
1.
Pick a scene that is very dimply lit. The scene will need to be indoors
and lit by artificial lighting. A candle lit scene is a good example
2.
Try to find a scene where
there are not too many shadows or strong specular highlights otherwise these
will introduce artifacts in your final fused image. See Figs. 1 and 2 for an
example scene

Figure 1: An
example flash (left) and no flash (right) image pair. The flash (left) image
has low noise, but the color and lighting is wrong.The colors and lighting in the no flash (right)
image are what we want, but the right image is noisy.

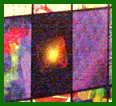
Figure 2: Closeups from Fig. 1. The left (flash) image has low noise
compared to the no flash (right) image.
3.
Make sure you are using the front camera, then set background for the first
image to be dark and then set the background of the second image to be white,
in order to simulate the process of flashing. Hint: use look for TODO:hw3 in the code.
2. Denoise
the no-flash image you captured in part 1 (5 points)
You
will utilize a modified version of the fast bilateral filter MATLAB code
provided by Sylvain Paris which you can download here.
The bilateralFilter function takes takes two parameters: the std deviation of the Gaussian kernel in the spatial
domain (![]() , and the std deviation of the Gaussian kernel in the range
(intensity) domain (
, and the std deviation of the Gaussian kernel in the range
(intensity) domain (![]() . You will need to play
around with these parameters to try to find the most visually pleasing results.
Here are some guidelines:
. You will need to play
around with these parameters to try to find the most visually pleasing results.
Here are some guidelines:
1.
Denoise each color channel separately.
2.
You can work with relatively small images. 1024x768 is a good
resolution to work with – not too small, but still not so large as make
the bilateral filter code run too slowly
3.
Try a set of different values for both ![]() and
and ![]() . A good place to start is
the range
. A good place to start is
the range ![]() , and
, and ![]() . Note that these values for
. Note that these values for
![]() assume
that the maximum value in the image is 1. If the image has a different maximum
value, you will need to scale
assume
that the maximum value in the image is 1. If the image has a different maximum
value, you will need to scale ![]() by this
factor (i.e. try
by this
factor (i.e. try ![]() where
where ![]() is the
no-flash image).
Fig. 3 shows an example of different bilateral filter settings used to denoise
the flash scene from Figs. 1 and 2. Show your results and report the optimal
filter settings you chose.
is the
no-flash image).
Fig. 3 shows an example of different bilateral filter settings used to denoise
the flash scene from Figs. 1 and 2. Show your results and report the optimal
filter settings you chose.
3. Extract the details from
the flash image and fuse the images together (5 points)
You
will now need to extract the details from the no flash image. To do this, you
will also apply a bilateral filter to the no flash image. Call the flash image ![]() , the denoised
flash image
, the denoised
flash image ![]() and the denoised no flash image
and the denoised no flash image ![]() . You will transfer the
detail to the fused image
. You will transfer the
detail to the fused image ![]() using the following equation:
using the following equation:
![]() (1)
(1)

Figure 3: A
grid of closeup images of the no flash image from
Figs. 1 and 2. The images have been denoised using
the bilateral filter with varying values for the input parameters: ![]() . The optimal values (
. The optimal values (![]() were chosen to give the
most visually pleasing results.
were chosen to give the
most visually pleasing results.
You
will need to choose the bilater filter settings to
generate the denoised flash image ![]() . A good place to start is
to use the same settings used for to generate the denoised
no flash image
. A good place to start is
to use the same settings used for to generate the denoised
no flash image ![]() . Play around with these
parameters to see if you can fine tune the quality of your fused image and
report your results.
. Play around with these
parameters to see if you can fine tune the quality of your fused image and
report your results.
An
example of a fused image created from the flash/no flash image pair of Figs. 1
and 2 can be seen in Figs. 4-6. Note that the fused image has the same lighting
and color characteristics as the original no flash image captured. However, as
can be seen from the closeups in Fig. 6, the fused
image contains more image detail than the denoised no
flash image from Fig. 4.
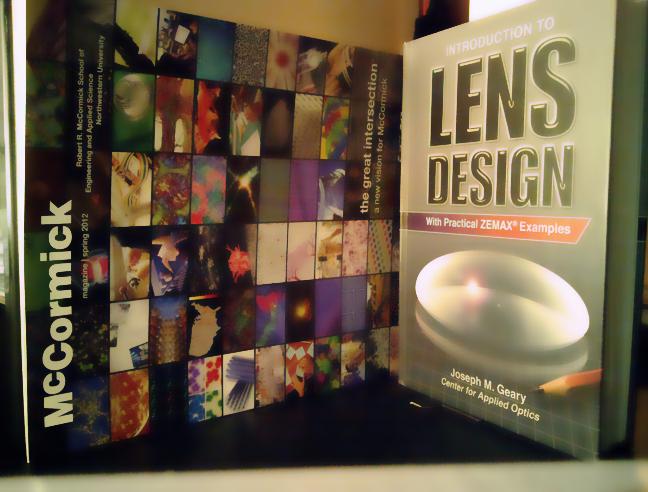
Figure 4: The denoised result of the no flash image from Figs. 1 and 2.
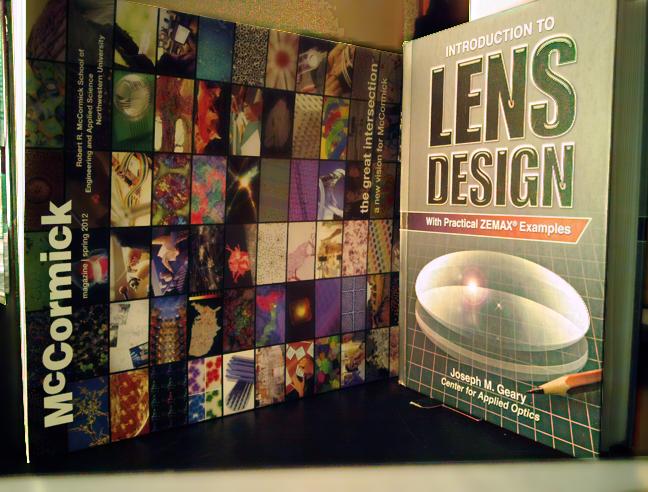
Figure 5: The
fused result combining the denoised image from Fig. 4
with the details of the flash image from Figs. 1 and 2.
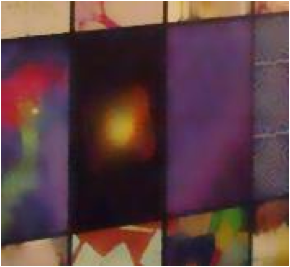
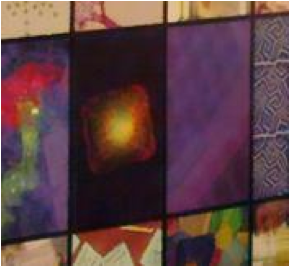
Figure 6: Closeup images of the denoised no
flash image from Figure 4 (left) and the fused image from Figure 5 (right).
What to Submit:
Submit
a zip file to canvas, which includes
1.
A write-up document that explains what you did, what the results are,
and what problems you encountered.
2.
All code that you wrote, including the android code running on
the Tegra, and the Matlab code.
3.
The write-up should include all the figures that you were instructed to
generate, and should answer all the questions posed in this document.
References
1. Digital photography with flash and no-flash
image pairs,
Georg Petschnigg, Maneesh Agrawala, Hugues Hoppe. Richard Szeliski, Michael Cohen, Kentaro Toyama, SIGGRAPH 2004.